How to Use Column Groups for monday.com
This guide explains how to add the app to your boards, getting started, and how to use Column Groups for the first time.
1. Overview of Adding Column Groups to a board (first-time use)
- Open the board where you want to use Column Groups.
- Click on the Add View button, usually to the right of your existing view tabs
- Select Apps -> Column Groups Table to add the app to your board
- The Column Groups Table will open, showing the columns on your board and letting you create your first column group
2. Creating your first column group
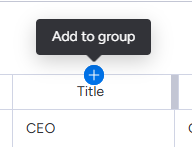
- Mouse over the column header to display the column options
- Click on the + button to add this column to a new group or an existing group (if any exist)
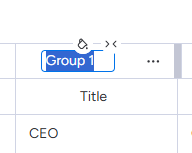
- For new groups, a default name is given and can be edited by clicking on the group title, editing the name, and pressing Enter to save
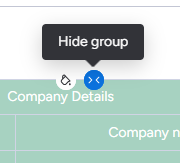
3. Showing and hiding column groups
- Locate the group you want to show or hide
- Mouse over the group heading to display group options
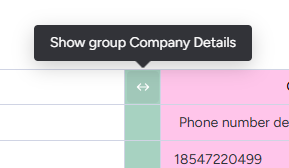
- If the group is not hidden, you will see a button to hide it
- If the group is already hidden, you will see a button to show it
4. Switching between global and per-item-group column groups
Open the App Settings in the top-right of the board view to choose how groups apply.
- In App Settings, open the Global column groups dropdown.
- Select Global column grouping or Item group level column grouping.
- How the setting applies:
- Global grouping: actions like creating, hiding, or coloring groups apply to every horizontal item group.
- Item group level grouping: changes you make apply only within that specific item group.
- Create custom column groups per item group to tailor the view to each workflow lane.
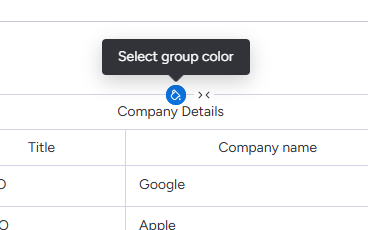
5. Coloring column groups
Color-coding groups helps visually separate different parts of your workflow (for example, "Planning", "In progress", "Done").
- Mouse over the group heading to display group options
- Click on the color picker
- Choose a color for this group

6. Adjusting coloring level
Choose how much color is applied to the board to fit your visibility needs.
- Open the App Settings in the top-right of the board view.
- Under Group highlighting, open the dropdown.
- Select one of the levels:
- Full color (headers and columns): apply color to the group header, column headers, and cells.
- Group and column header: color the group header and column headers, leaving cell backgrounds neutral.
- Group header only: keep color limited to the group header.
- Preview the change and adjust as needed.
7. Getting help
If you run into issues installing or using Column Groups, or if something in this guide is unclear, you can contact us at support@asplundsoftware.com. Please include:
- The name of your monday.com account or workspace
- The board you are working on
- A short description of what you tried to do
- Any error messages or screenshots if available
Chat with the developer directly
- Click the green chat bubble in the bottom-left corner of the board.
- A chat window opens in the lower-left; type your message and press Enter.
- You’ll reach me (the developer) directly; share what you’re seeing so I can help.